Model Configuration
Falkonry Patterns enables users to build explainable models for identifying and classifying time-series conditions without needing coding or ML expertise. We will summarize the key steps, terminology, and best practices for configuring and deploying models efficiently.
Key Terminology
Important terminology to know when working with models: Signals, Entities, Conditions, , Models, Datastream, Assessment, Evaluation, Explanation Score, Generalization Factor (GF), Cluster Guidance
Modeling Options
Unsupervised:
- Default model behavior
- Clusters data without prior labels
- Generates unlabeled events based on patterns and detects anomalies
- See more information here.
With Supervision:
- Requires known events (facts)
- Facts are used to define and train on labeled examples
- Model learns to classify based on historical labeled data
- The unsupervised engine continues to detect patterns and uncover anomalies independently of labels.
- See more information here.
Modeling Workflow
1. Prepare Modeling Data
- Create a dedicated signal group for modeling to separate modeling-relevant signals from reference signals. Use a recognizable name such as _model_signals for easy identification.
- Avoid flat, counter, or highly redundant signals (e.g. correlating signals that do not provide new information).
- Create a Learning Range event group to define the time span of signal and event data that will be used for model training.
- Create an Evaluation Range event group to define a time range where the model will output data.
- Separate events into event groups to add supervision labels to model construction.
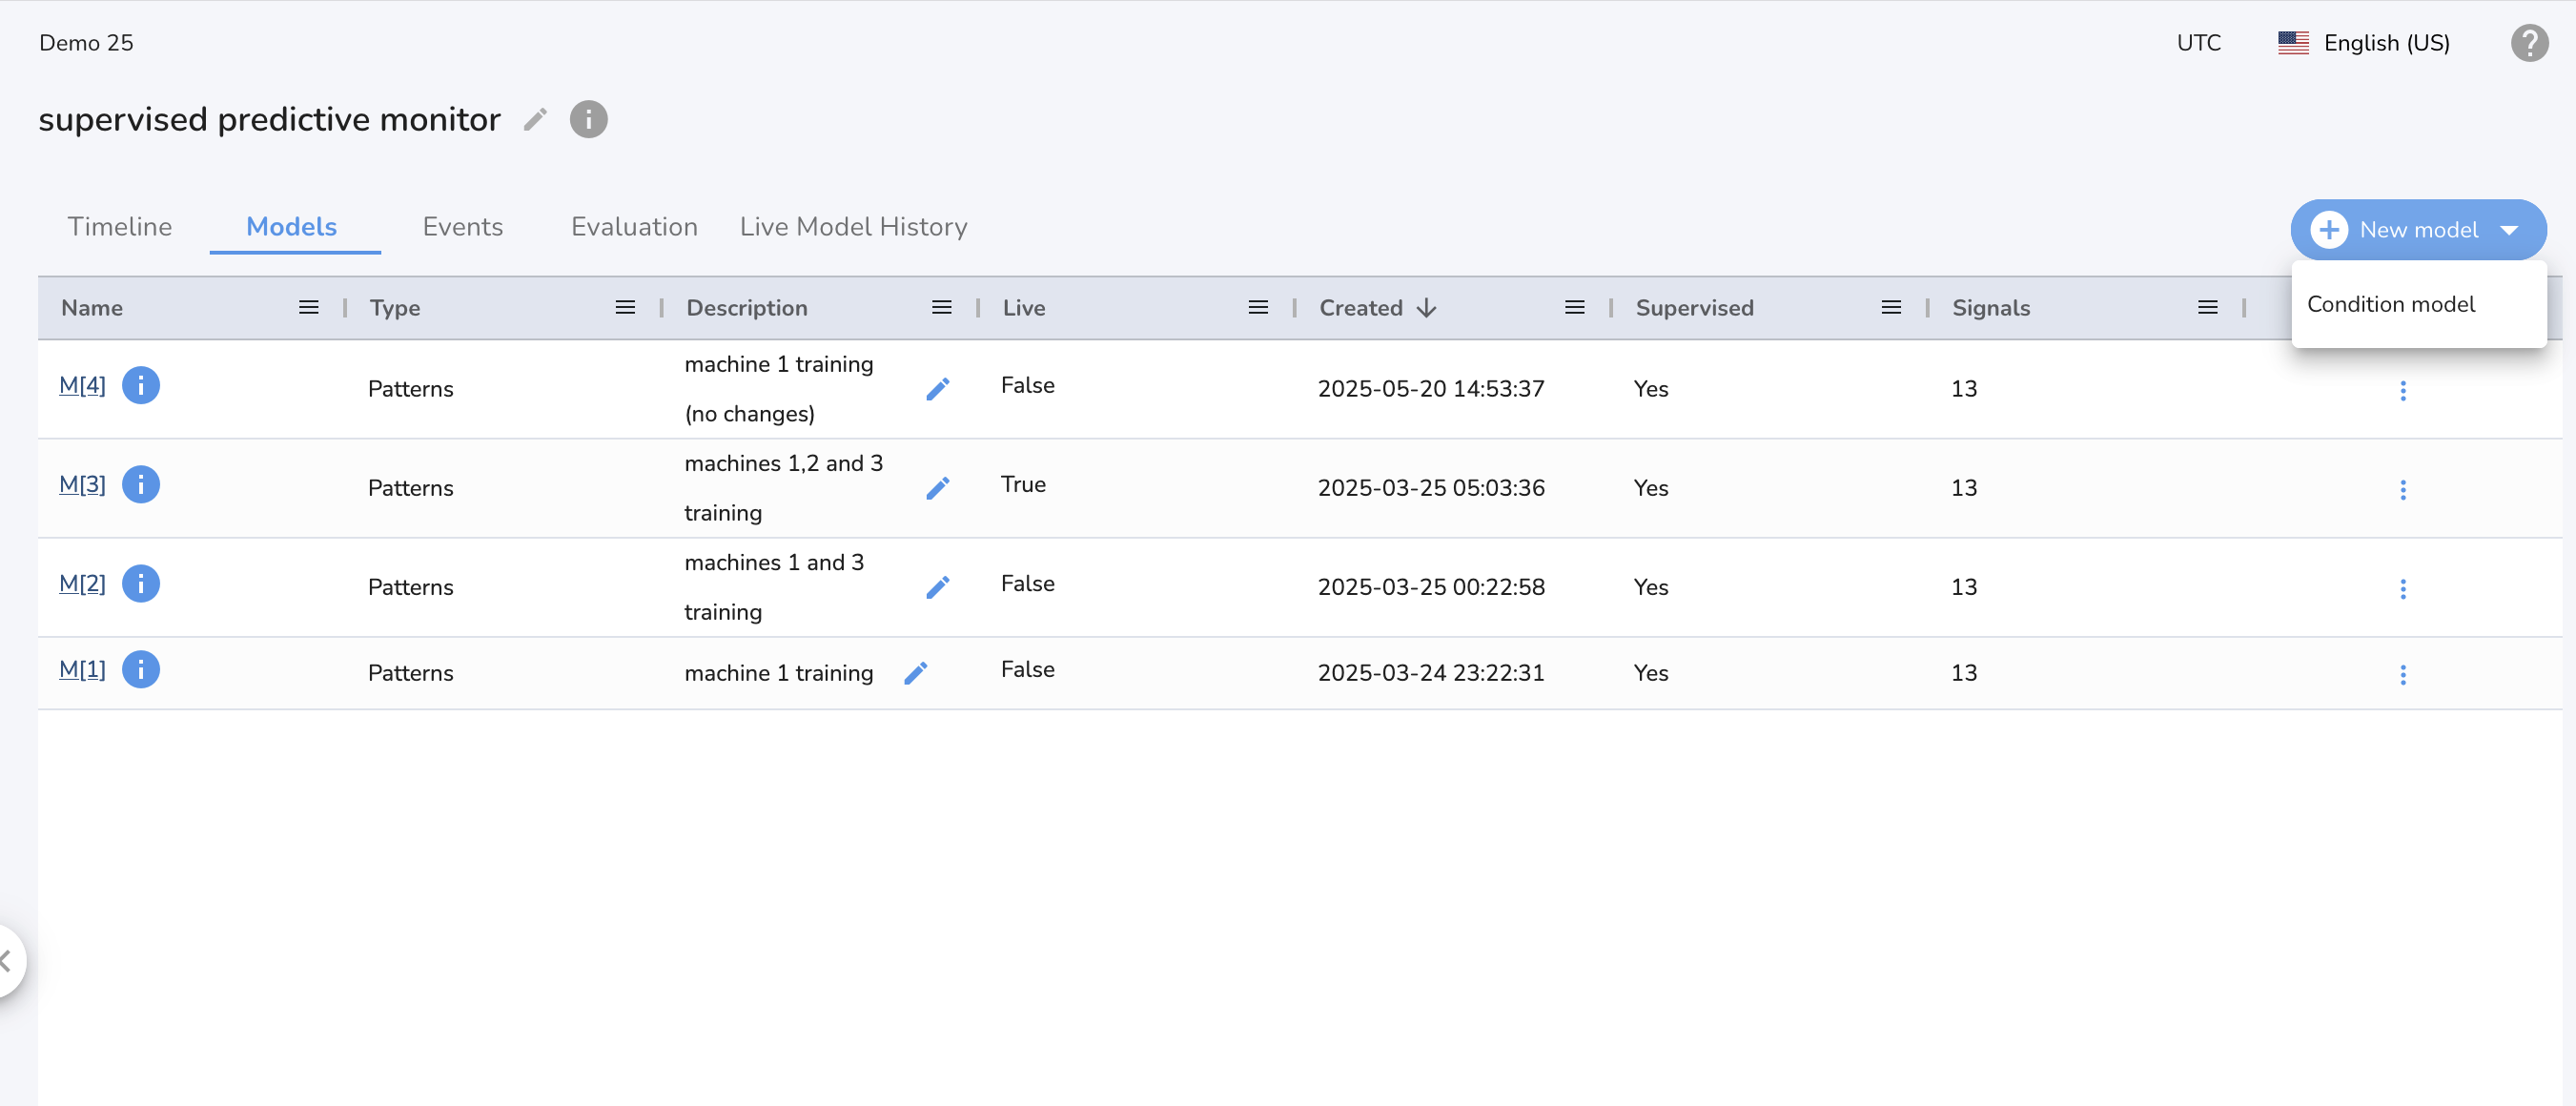
Once the model data is prepared, you can build a new model in the Models tab.
2. Add Inclusion Group
- Select Learning Range event group that encompasses time range of relevant data and labels desired for model training.
- Optional: Add an event group to the Exclusion Group to ignore specific time ranges during model training (e.g., data with known issues or irrelevant conditions).

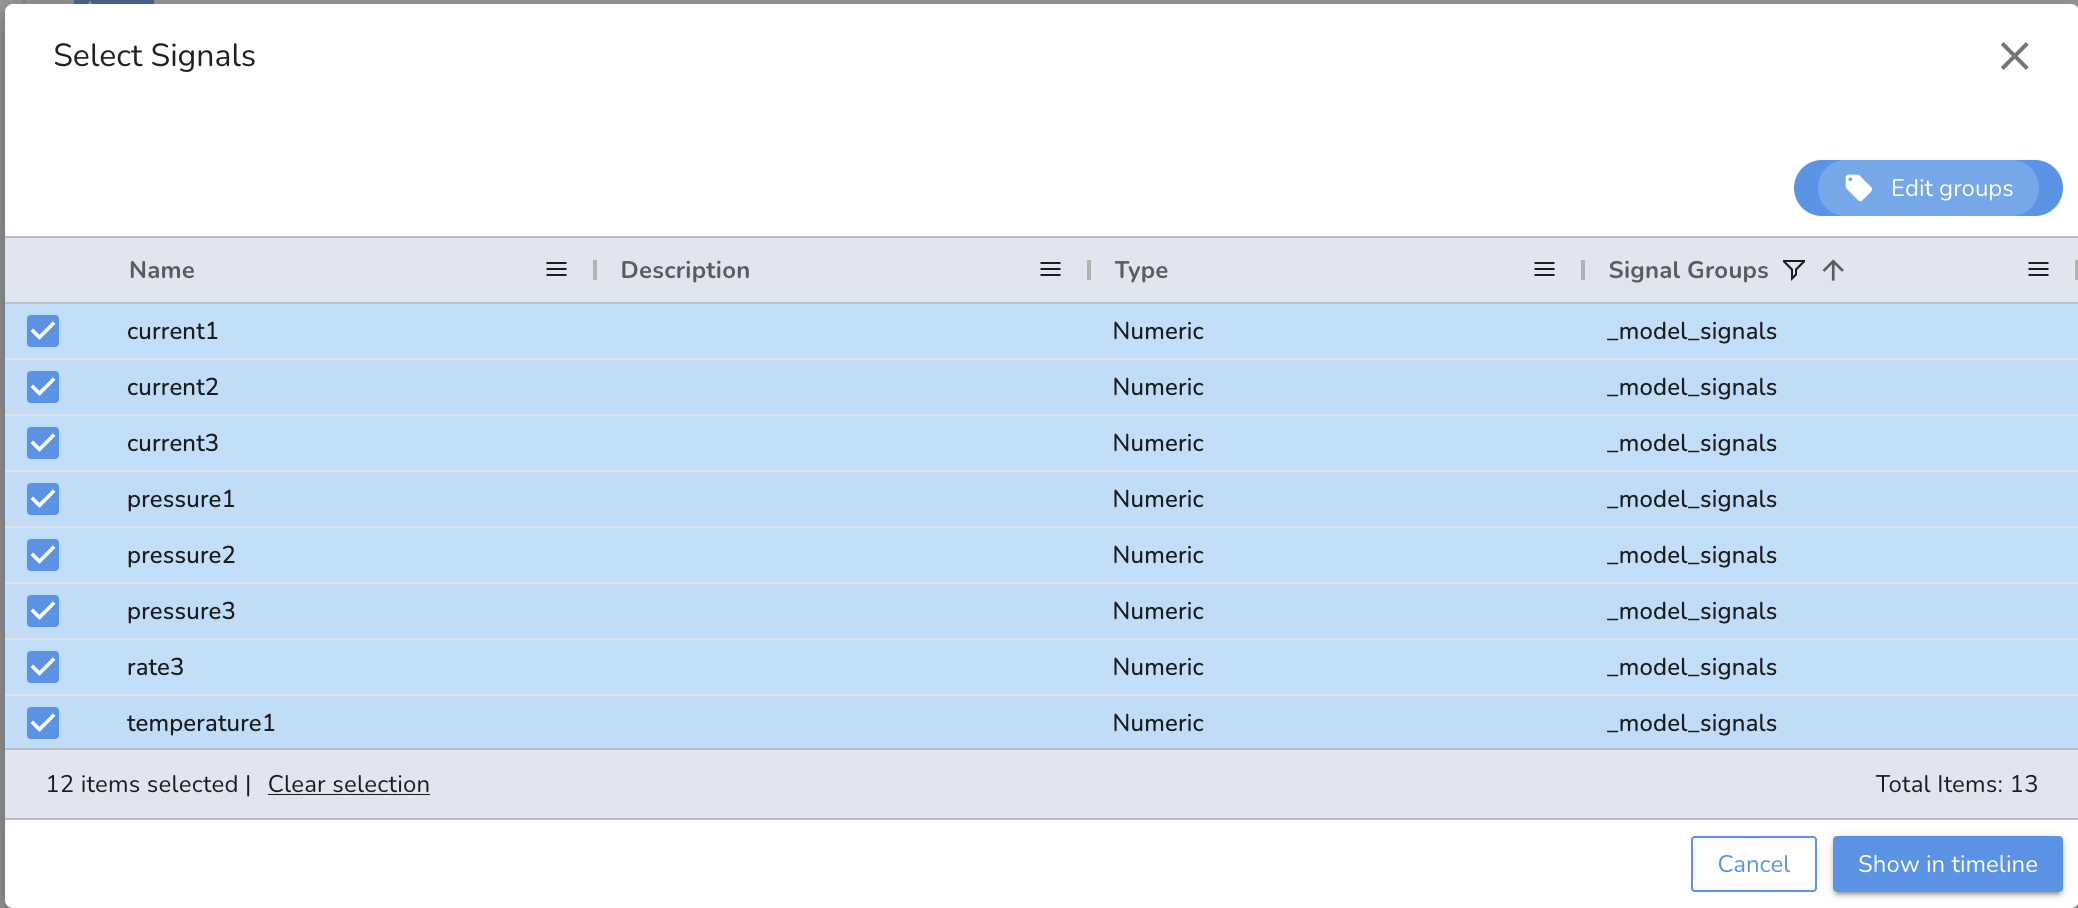
3. Add Signal Group
- Select a signal group that contains only the signals relevant for modeling, excluding any reference or contextual signals (e.g. _model_signals).

4. Model Parameters
Patterns offers various modeling and parameter customization options.
- Add a description of your model parameters and use case.
- For sliding window models, tune both the window bounds and the assessment rate. The window bounds should encapsulate the full range of behavior necessary to identify a label in the data.
Example: Suppose you're building a model to detect when a system is in an "overheating" state. This state typically lasts 2–3 minutes and is characterized by a sustained rise in temperature, increased fan activity, and a dip in efficiency metrics. To model this state accurately, your window should cover the entire pattern — not just the transition into overheating. A 30-second window might catch only the beginning of the temperature rise, but a 3-minute window would provide the full context needed for the model to associate the sustained pattern with the "overheating" label.
- Adjust Generalization Factor (start with 0.4–0.5).
- Adjust cluster guidance, the range of unsupervised labels the models attempts to fit.

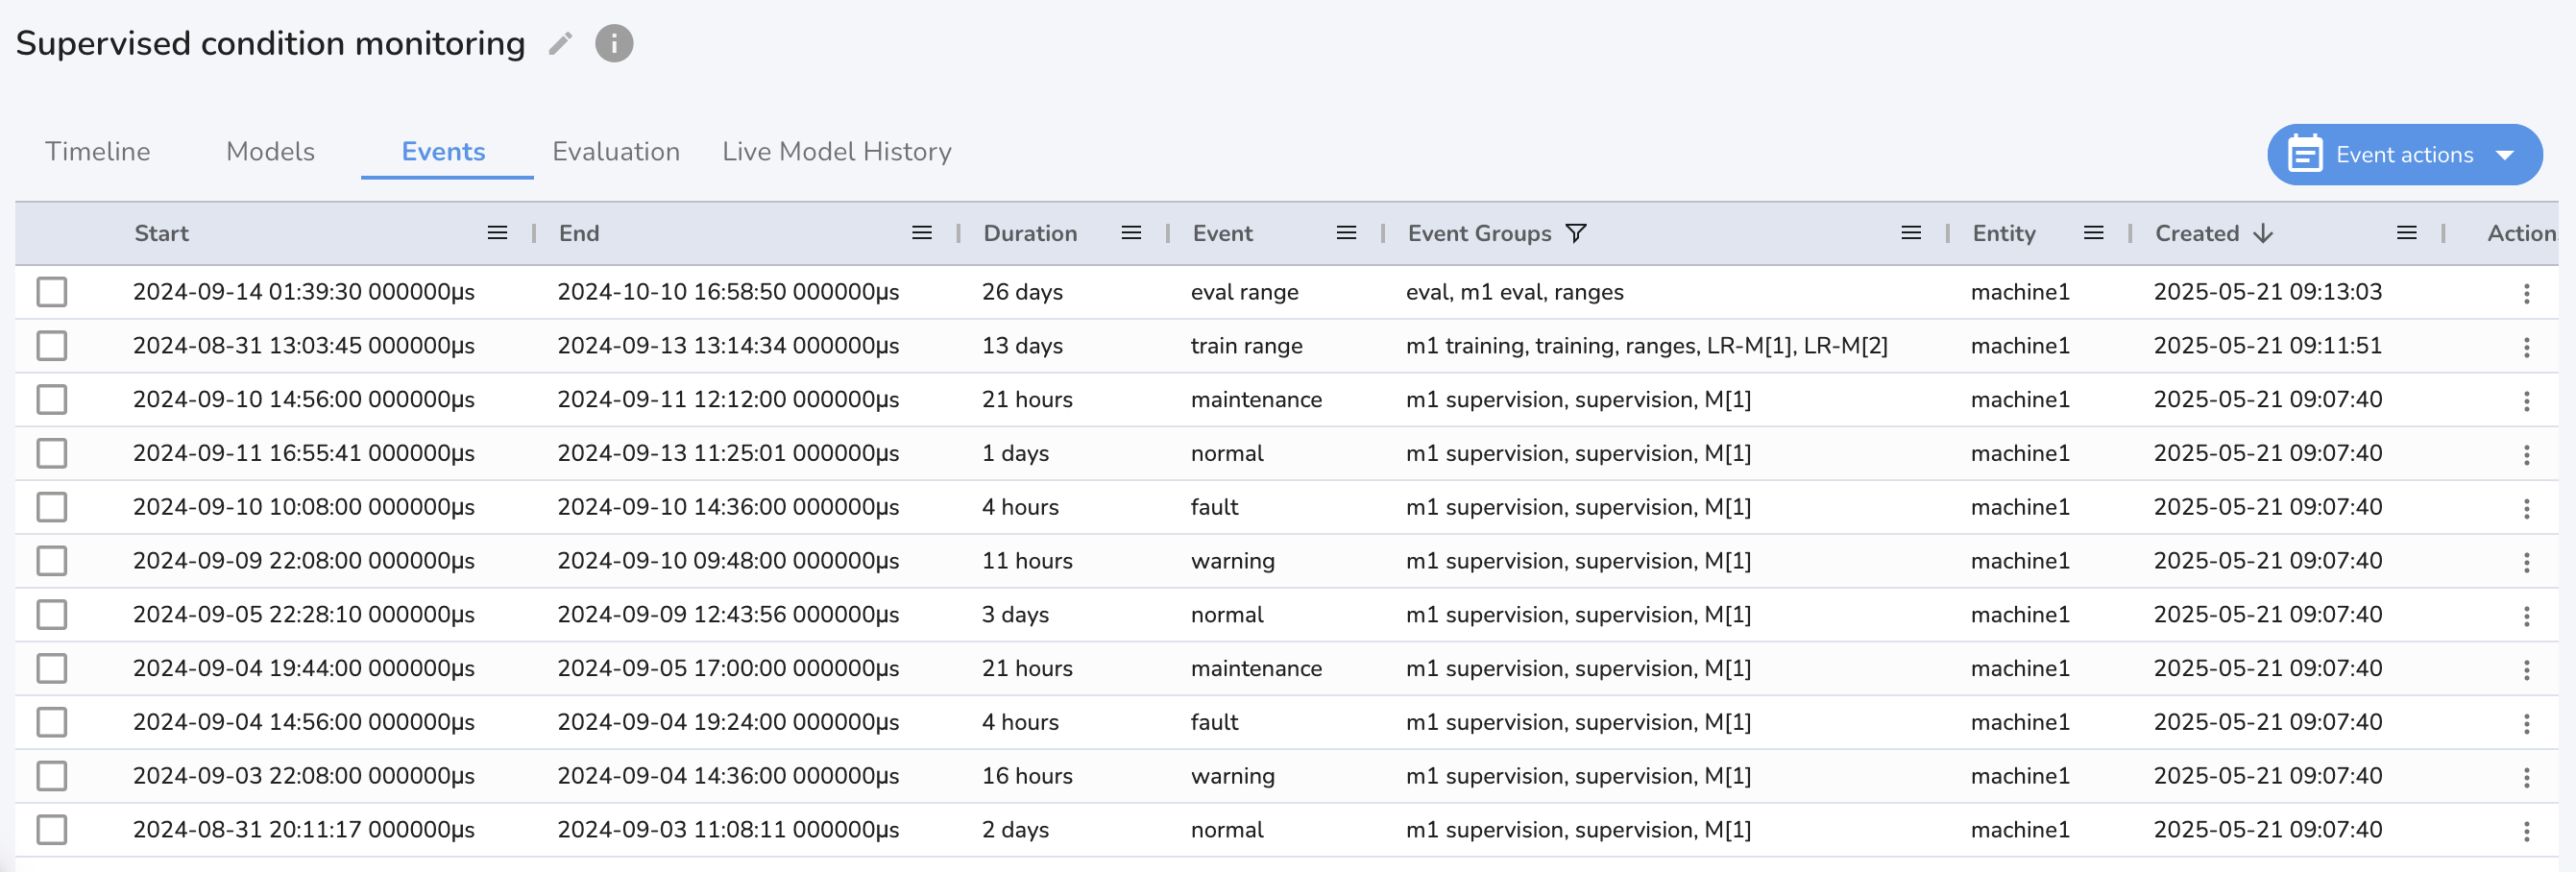
5. Event Groups
If creating a supervised model, choose the Facts event groups that will be used for model training. Otherwise, the model will default to unsupervised and provide "unlabeled" groups based on your cluster guidance. Visit events manager user fuide for more detailed information on using events.

Note
Cluster guidance and anomaly detection are applicable even when labels are present. In the supervised setting, facts are used to generate labels, whereas in the unsupervised setting, clustering algorithms serve as the primary method for pattern discovery.
6. Evaluate Model
To evaluate a model historically using an event group's time range, use the hamburger menu in the Models tab or enable the evaluation option in the final step of model creation to automatically queue an evaluation after the build completes.
- Break long eval periods into 1-2 month segments for computational efficiency.
- Visit model evaluation user guide for more detailed information.

7. Deploy & Monitor
- Use the Live Model Flow for seamless integration with external systems.

- Enable Monitoring for Entities: Choose which entities the model should actively monitor to generate per-entity outputs.
- Regularly update the model with new facts to improve performance and maintain accuracy.
- Visit live monitoring user guide for more detailed information.

🔍 Best Practices
| Area | Tip |
|---|---|
| Signal Selection | Avoid highly correlated or low-variance signals. |
| Event Labeling | Provide diverse labels; avoid labeling the obvious failures directly. |
| Model Naming | Name assessments and models to reflect use case (e.g., early_warning_v1). |
| Sample Balance | Aim for a measured balance between "normal", "warning", and "fault" type conditions. |
| Evaluation | Validate on unseen time ranges for best results. |